How to DIY Hair & Makeup for Your Elopement (and Look Amazing)
If you’re planning to exchange vows in a remote, wild place, there’s a good chance professional hair and makeup stylists won’t be an option. And you know what? That’s okay.
You don’t absolutely need a professional to feel beautiful or comfortable on your wedding day—you just need a simple plan, some practice, and a few reliable techniques that’ll hold up to whatever nature has planned.
Instead of stressing about getting it just right, it’s easier (and way less stressful) to accept that nature might have its own plans for your hair. A little messy can still be beautiful—and probably feels more like you anyway.
Bottom line: doing your own styling can actually be pretty empowering, and it’s one more way to keep your wedding day relaxed, personal, and focused on what’s really important—getting married in an incredible place, exactly how you want to.
Learn And Expiriment Ahead Of Time
A good tip is to practice ahead of time and choose simple, natural styles that don’t need tons of touch-ups. Don’t try something completely new on your wedding day. Stick with techniques you’ve tested beforehand (trust me on this one). And pack an emergency kit with basics like extra bobby pins, setting spray, blotting paper, and lip balm, just in case.
If you want to feel more confident about your technique, try asking a stylist to help you learn how to DIY your own hair and makeup. Many offer classes or one-on-one sessions to help.
DIY Elopement Hair: Simple, Beautiful, and Built for the Outdoors
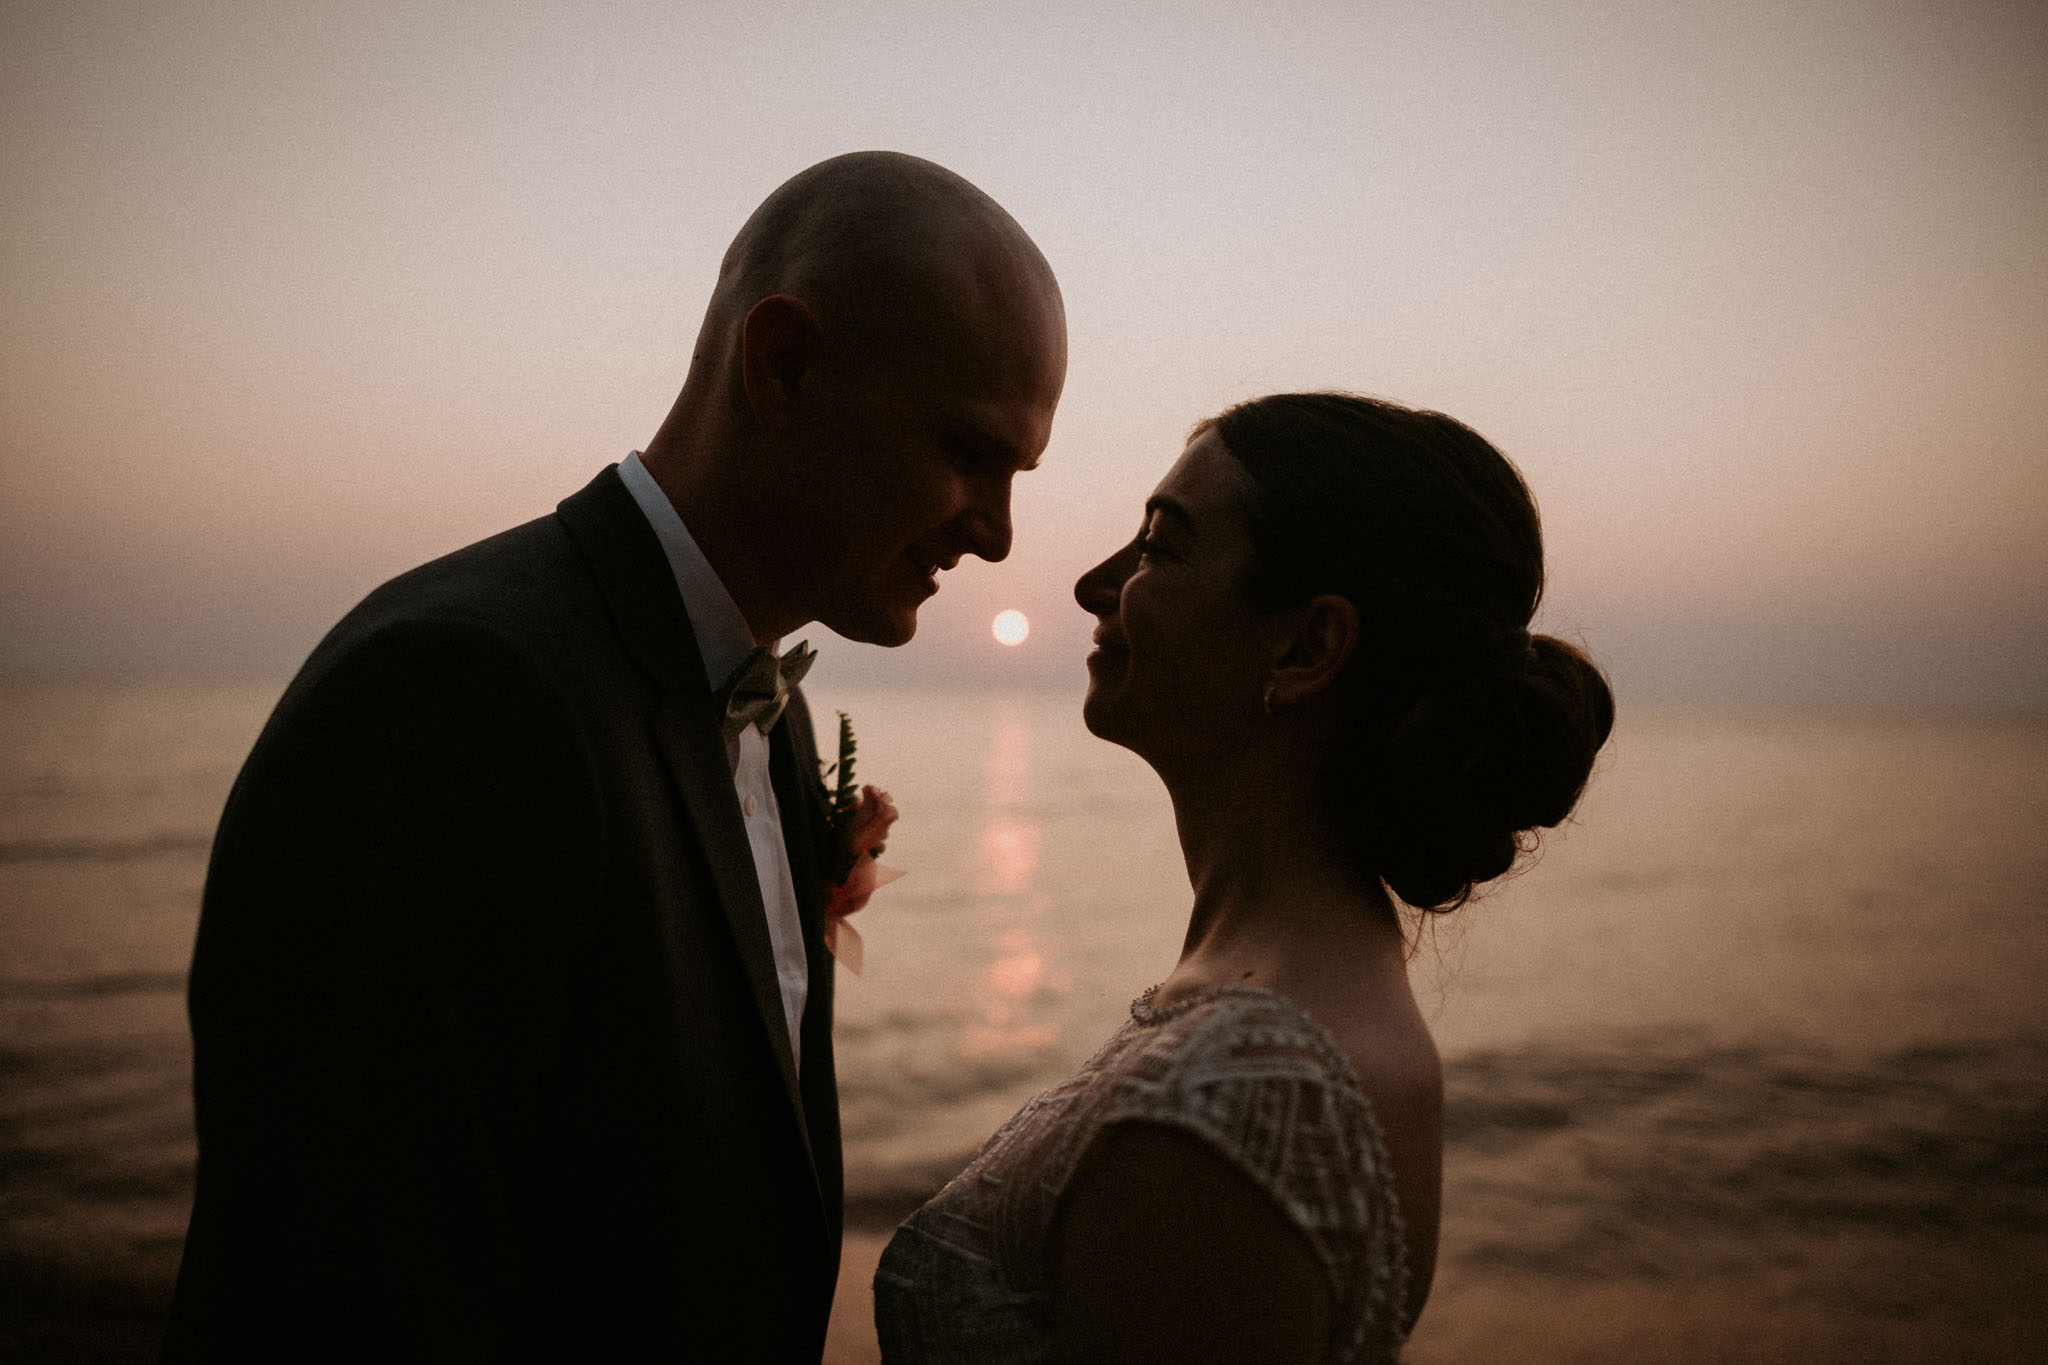
When it comes to doing your own hair for your elopement, the key is to embrace simplicity and flexibility. You’re not in a climate-controlled salon—you’re in the wild, where the wind, humidity, or even a light drizzle might make their own creative contributions to your style. Instead of fighting the elements, go with styles that work with nature, not against it.
The best elopement hairstyles are the ones that don’t need constant fixing or a million bobby pins to stay in place. Think soft, romantic, effortless—styles that move naturally and still look amazing whether you’re exchanging vows on a mountaintop, by the lake, or deep in the forest. Bonus points if your hair still looks great when the wind picks up or you throw on a beanie for warmth. Here are my top tips:
- Embrace Your Natural Texture – Work with your hair’s natural tendencies rather than against them. This minimizes stress and increases durability.
- Braids & Clips for Stability – These styles look effortless while keeping hair under control in windy conditions.
- Soft Waves for Versatility – Beachy waves or loose curls offer movement without looking overly styled.
- Wind-Adaptability – Wind adds magic to wedding photos, and choosing styles that move well (rather than fighting to keep everything perfectly in place) will create a more natural, timeless look.
- Waterproof Products – If there’s rain in the forecast, use humidity-resistant sprays and lightweight styling products that won’t turn stiff or sticky.
The good news? You don’t need to be a hairstyling pro to pull off a beautiful elopement look. Whether you’re working with short, long, or in-between hair, these three DIY hairstyle ideas will keep you feeling confident, comfortable, and ready for whatever adventure your wedding day brings.
1. The Textured Low Bun
A low, messy bun is one of the best elopement hairstyles because it’s secure, stylish, and won’t budge in the wind. It works on most hair types and can be easily dressed up with a hairpin, floral accent, or a delicate hair vine. To DIY it:
- Use texturizing spray or dry shampoo to give your hair grip.
- Gather your hair into a low ponytail, twist it loosely, and secure it into a bun with pins or a small elastic.
- Pull out a few face-framing pieces for that effortless, undone look.
- Set with a flexible-hold hairspray—strong enough to last but not so stiff that it looks unnatural.
- Textured Low Bun Tutorial Video
2. Loose Waves or Curls
If you love a more natural, carefree look, soft waves or curls are a great option. Plus, they look amazing even if they get a little tousled by the wind. To make them last:
- Start with a heat protectant and curl your hair with a curling iron or wand.
- Let curls cool before brushing them out for softer waves.
- Use a sea salt spray or texturizing spray to add volume and grit so they don’t fall flat too quickly.
- If you’re in a humid or rainy area, go with a braided wave technique—braid damp hair the night before and wake up to effortless waves.
- Loose Waves – Long Hair Tutorial
- Loose Waves – Medium Hair Tutorial
3. Half-Up, Half-Down
If you want the best of both worlds—some hair down, but still secured away from your face—this style is easy, elegant, and works on any hair length. It’s also a great way to show off natural texture. To do it:
- Take two sections from the front and twist them loosely.
- Pin them back at the crown of your head, overlapping them for a natural, seamless look, or secure with a clear plastic band.
- You can then pull the hair through the loop for an elegant twist.
- If you have shorter hair, use small claw clips or bobby pins to keep everything in place.
- Lightly curl the remaining hair for an extra soft, romantic feel.
- Half-Up Half-Down Tutorial

Bridal Hair Accessories: Traditional & Non-Traditional Options
Accessories can elevate your wedding hairstyle and add personality to your look. Whether you lean towards classic elegance or something more unique, here are some ideas:
Traditional Bridal Hair Accessories
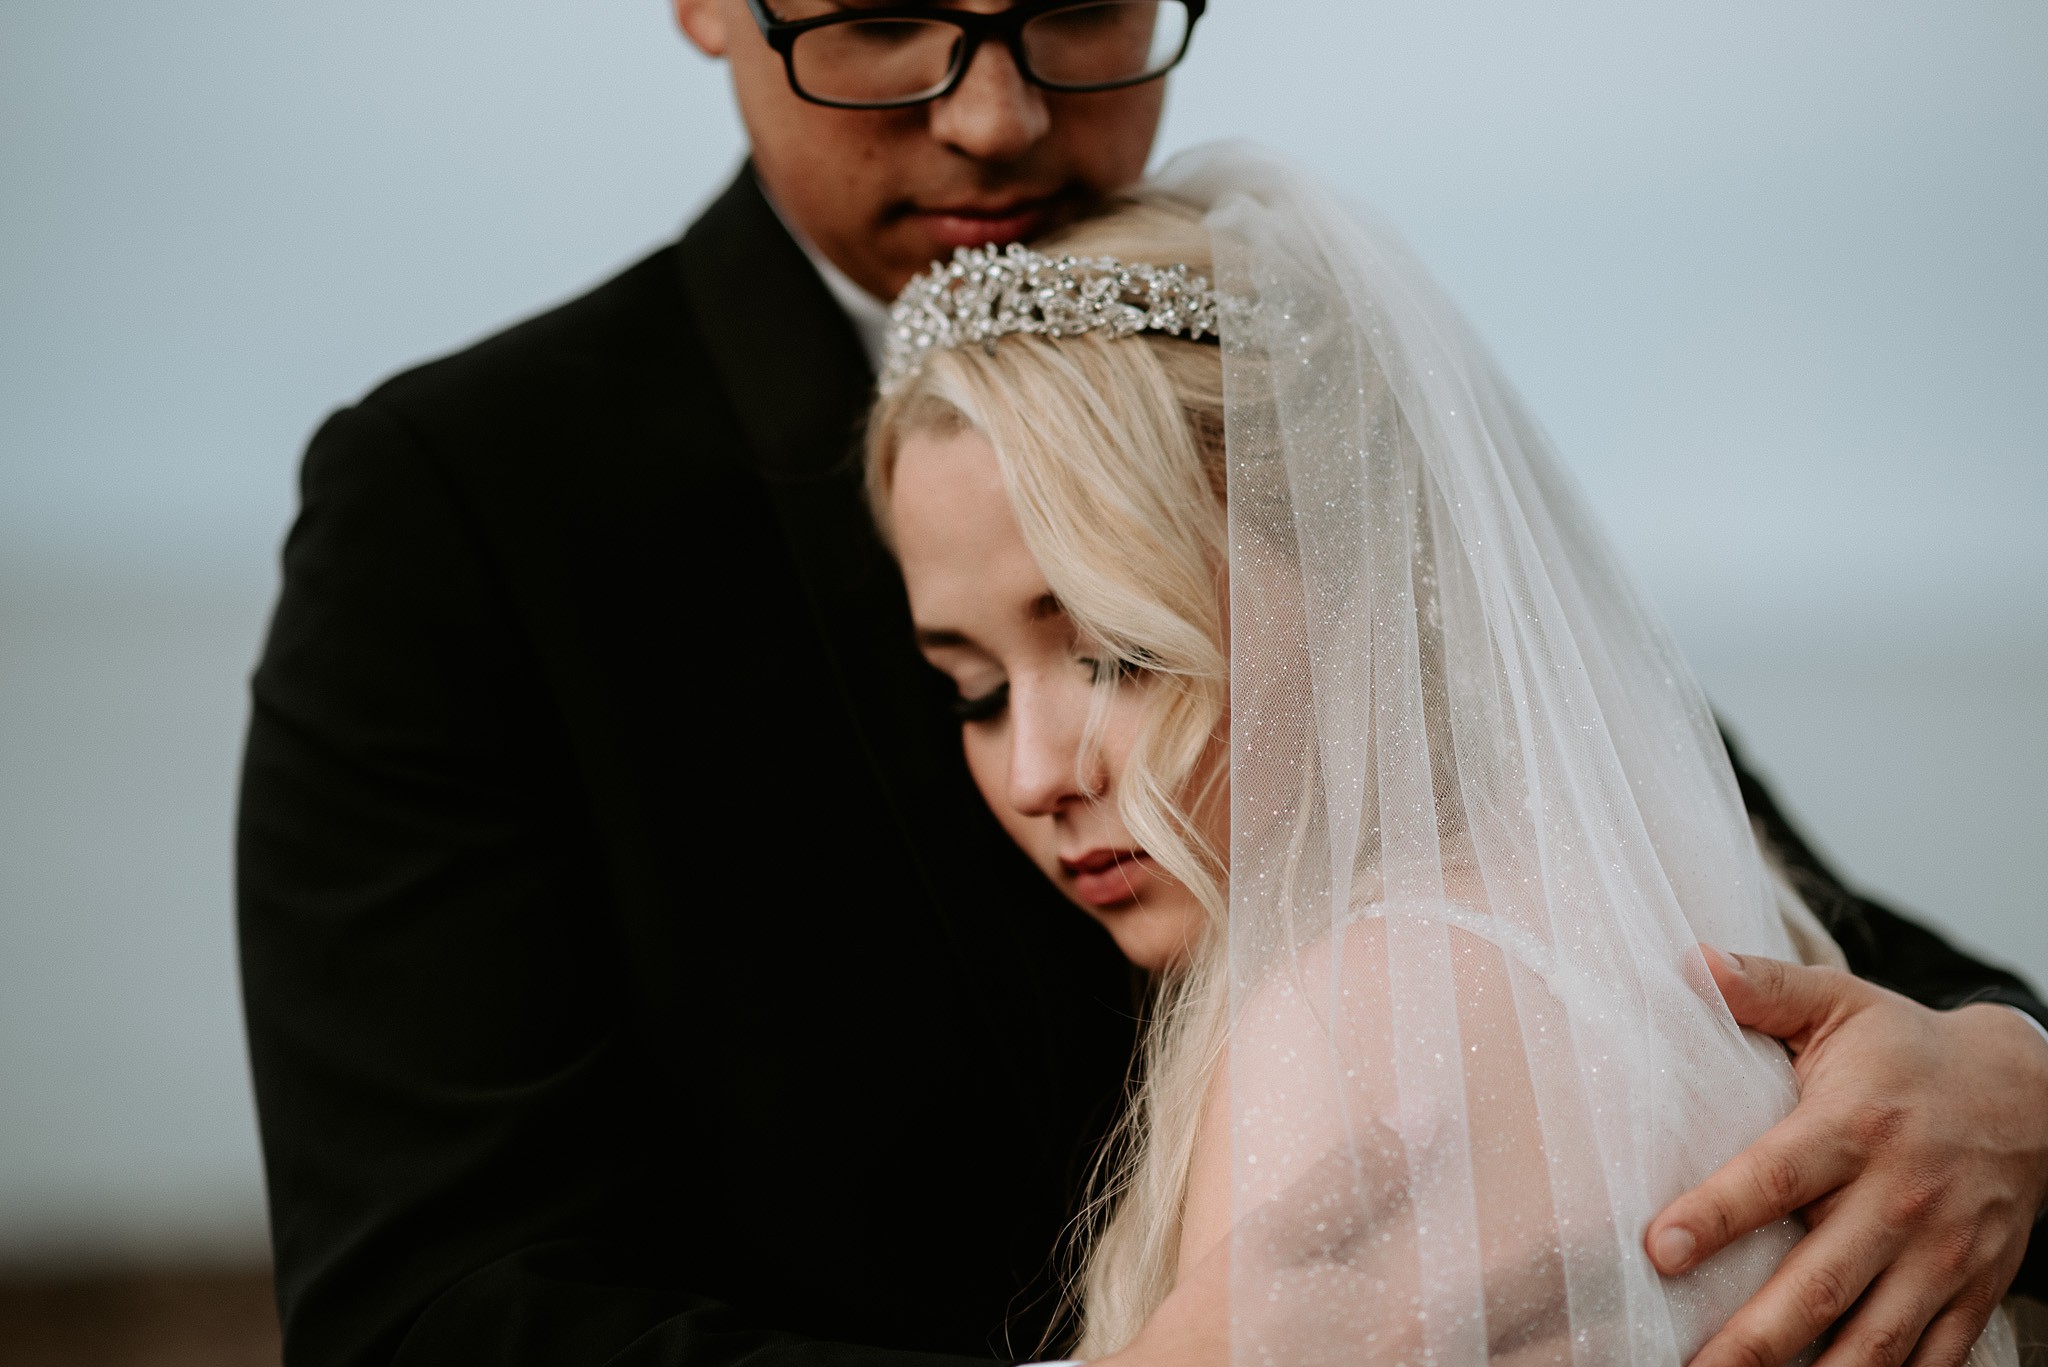
- Veil – A timeless choice that adds softness and drama to your look.
- Floral Pins – Fresh or silk flowers can add a romantic, nature-inspired touch.
- Spray Pins & Pearls – Delicate additions that provide subtle sparkle and elegance.
- Tiara – Perfect for a regal, fairytale-inspired aesthetic.
Non-Traditional Bridal Hair Accessories
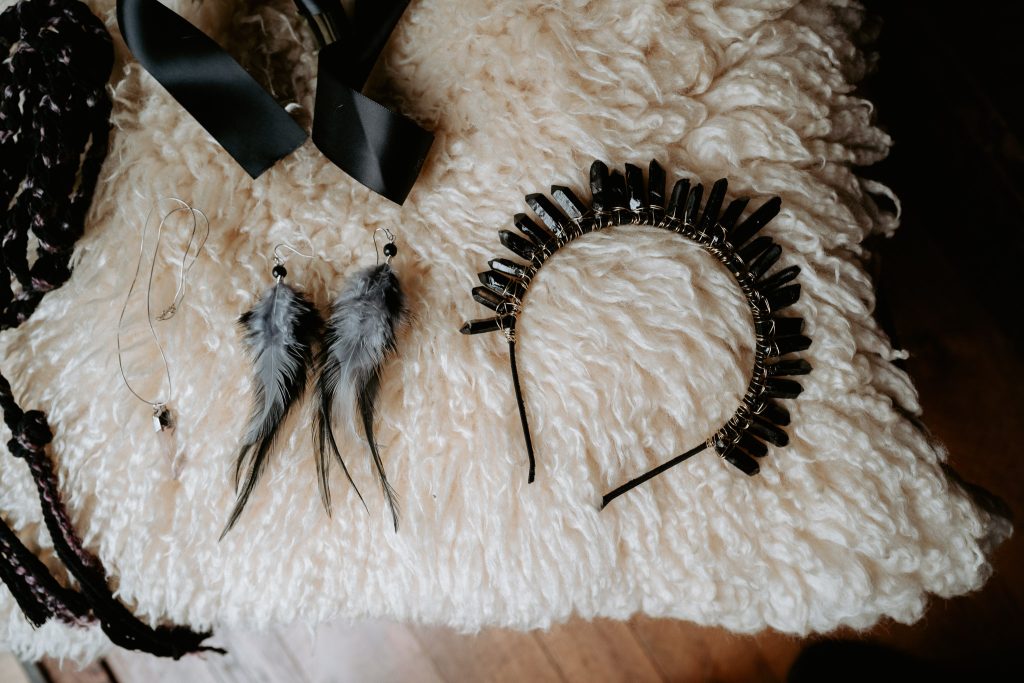
- Crystal Crowns – A mystical, bohemian twist on the traditional tiara.
- Hats – Wide-brimmed hats or fedoras can bring an adventurous, modern flair.
- Hair Vines & Chains – These can be woven into braids or curls for an ethereal, whimsical effect.
- Feathers or Shell Clips – Ideal for beach or forest elopements, adding a natural, earthy feel.
When choosing an accessory, consider how it interacts with your hairstyle and the environment. Wind and rain can impact how a veil flows or how well certain pieces stay in place. Secure everything with sturdy pins and do a test run to ensure comfort and durability.
Trial Run: The Key to Confidence
A trial run is non-negotiable if you want to feel confident in your DIY elopement hairstyle. The last thing you want on your wedding day is to discover that your carefully planned look falls apart in the wind or feels uncomfortable five minutes in. Testing your chosen style ahead of time will save you stress and help you make any necessary adjustments before the big day.
Start by styling your hair just as you would for your elopement—use the same products, tools, and techniques. Then, take photos from multiple angles and in different lighting to see how it looks on camera. A hairstyle that seems perfect in the bathroom mirror might look totally different in natural light or from the side and back. If possible, wear it for at least a few hours to see how it holds up over time.
If you’re planning to hike, explore, or deal with unpredictable weather, take your hairstyle for a test run under similar conditions. Walk around outside, wear a backpack, or even try throwing on a hat or veil to make sure everything stays secure. If you notice any weak spots—pieces falling out, too much frizz, or discomfort—make adjustments, whether that’s using a stronger-hold hairspray, adding extra pins, or choosing a slightly different style that’s more adventure-proof.
This extra step might take a little time, but it’s worth it. A trial run ensures that when your wedding day arrives, you’ll know your hairstyle works, looks great, and—most importantly—lets you focus on celebrating without worrying about your hair coming undone.
Wedding Makeup: Enhancing Without Overdoing It
When it comes to elopement makeup, less can be more—but definition is key. Natural light and photography tend to wash out subtle tones, so adding a little extra depth and color helps keep you from looking flat or faded in your photos. The goal? Enhance your features while still feeling like yourself.
Some people prefer a natural, barely-there glow, while others love a bold, dramatic look—both can photograph beautifully. The key is choosing products and techniques that work with your skin type, lighting conditions, and personal style.
Prepping Your Skin: Essential for a Long-Lasting Look
Great makeup starts with great skin. A well-prepped face helps your makeup last all day and look fresh in any weather.
- Hydrate & Moisturize – Smooth, well-moisturized skin creates the perfect base for foundation. Even if your skin is oily, a lightweight moisturizer keeps makeup from clinging to dry patches.
- SPF Protection – If you’re eloping outdoors, opt for a moisturizer or primer with SPF to protect your skin from sun exposure. Just be careful with flash photography—some sunscreens cause a white cast in photos.
- Primer for Longevity – A lightweight primer helps your makeup stay put through wind, heat, or happy tears.
- Concealer – for blemishes, dark undereye circles, or redness. See below.
Concealer 101
I’m all for keeping things natural, but even I know that a tiny blemish can show up bigger in photos. The trick is choosing the right texture for the job. Creamy stick or thick cream formulas are highly pigmented and stay put on spots, while more liquid concealers are meant to melt seamlessly into the skin for under‑eye areas and anywhere there’s movement. Those dry, concentrated sticks can crease on fine lines and wrinkles, so I only use them to hide a pimple or redness.
How I apply: I dot a tiny amount of thick concealer on my ring finger (the warmth of your finger helps the product melt into skin) and gently tap it right on the blemish, letting it sit for a minute before blending. I avoid painting it over laugh lines or crow’s feet—too much product there can look cakey.
For dark under-eye circles, just blend a small amount from the corner of your eye down over the first third of the “circle”. Don’t go any farther than that.
My go‑to: Revlon’s PhotoReady Concealer Stick has a creamy, medium‑to‑full coverage formula that uses a high‑definition filter to blur imperfections. The angled tip makes it easy to dot on dark circles or spots; just pat with your finger to blend.
Go-To, Photo-Ready Makeup Looks
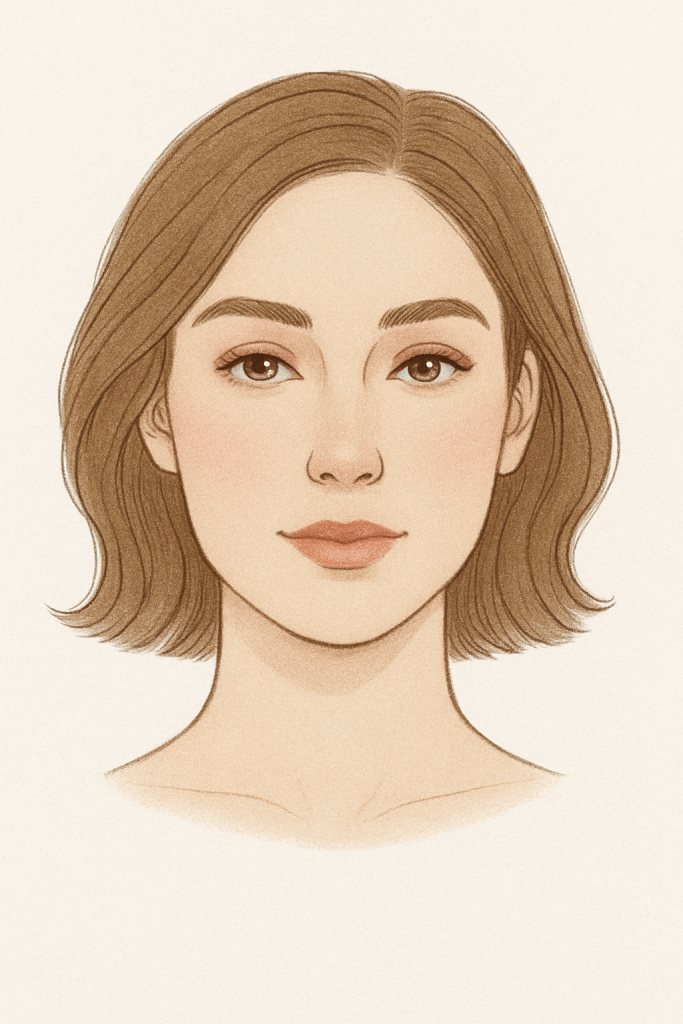
Barely-There Look
Fresh & Photo-Ready
For people who don’t normally wear makeup but want to look natural and polished in photos. This is minimal but strong enough that the camera still picks up your features.
Prep – Cleanse, moisturize, and let your skin fully dry. Apply a smoothing primer.
Base – Apply CC or BB cream evenly over the face, blending carefully into the jawline and neck.
Spot Conceal – Add a creamy concealer only where needed (blemishes, redness).
Powder – Lightly dust a translucent powder over the T-zone and cheeks to reduce shine.
Brows – Use a brow tint or gel to define shape (even if lightly).
Eyes – Add a coat of brown or black mascara, or opt for a lash tint for natural depth.
Cheeks – Blend a small amount of cream blush for a natural flush.
Lips – Use a tinted balm or lip tint in pink/rose/nude so lips have definition without looking “made up.”
Finish – Mist with setting spray to lock it in place.
Soft, Natural Look
Effortless but Defined
For when you want a polished, glowing look with a bit more emphasis—perfect for outdoor portraits in natural light.
Prep – Cleanse, moisturize, let dry, then apply primer.
Base – Choose a lightweight but buildable foundation or CC cream with medium coverage. Blend into jawline and neck.
Concealer – Apply under eyes and around nose for brightness and even tone.
Powder – Set lightly with translucent powder to reduce shine (important for flash or bright sun).
Brows – Fill lightly with pencil or powder to create structure.
Eyes – Use soft neutrals (taupe, peach, or rose) across lids, with a slightly deeper shade in the crease. Finish with brown mascara for a softer look than black.
Cheeks – Blend blush into apples of cheeks; add subtle bronzer for warmth.
Lips – Outline with a neutral liner and fill with a nude or soft pink lipstick/gloss.
Finish – Use a setting spray for staying power.
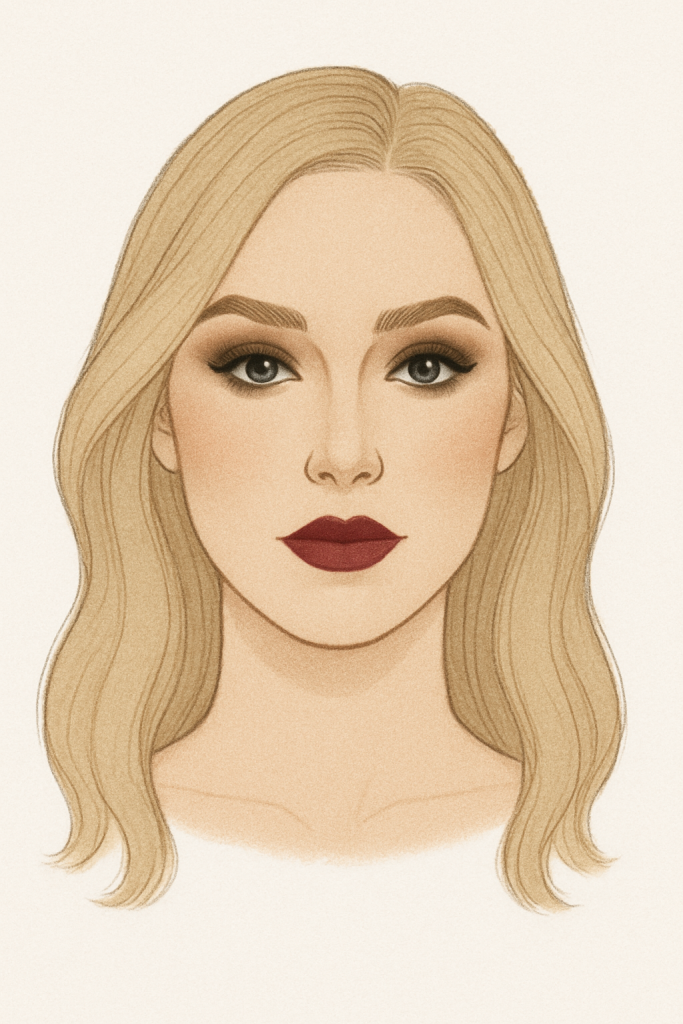
Bold Look
Dramatic & Moody
For when you want impact and drama that will stand out in photos.
Prep – Cleanse, moisturize, let dry, then apply primer.
Base – Use a full-coverage or satin foundation for a flawless finish. Blend thoroughly at the edges.
Concealer – Brighten under eyes and define around brows and lips.
Powder – Set with matte powder across the face to eliminate shine.
Brows – Shape and fill boldly with pencil/gel for structure.
Eyes – Apply smoky shades (warm browns, plums, or charcoal). Blend well. Add eyeliner along the lash line and finish with black mascara or individual false lashes.
Cheeks – Contour with bronzer under cheekbones, add a stronger blush, and highlight tops of cheeks.
Lips – Line and fill with a bold shade (red, berry, or deep nude). Satin or matte formulas hold best for photos.
Finish – Lock everything in with setting spray for long wear.
What to Skip
As much as I love a dramatic eye, big blocky lash strips can look extra fake in close‑up photos, and the thick band has a reputation for lifting at the inner corners. Individual or cluster lashes give you more control, look more natural, and are less obvious if they come unstuck.
If you love the look of long lashes but don’t want to fuss with glue, consider professional lash extensions or just stick with a volumizing mascara. Maybelline’s “The Falsies” waterproof mascara has a flexible spoon‑shaped wand with Kera‑Fiber formula that builds eight times more volume for a false‑lash effect—it’s what I personally wear, and it holds up through happy tears.
And please step away from shimmer and glitter on your cheeks or forehead. Under studio lights or sunshine, shimmer reads as greasy shine, and glitter on your skin can reflect light and make you look sweaty. Stick to matte finishes on the face and save the sparkle for your lids if you want a little magic.
Weather-Proofing Your Look
- Use a long-lasting setting spray to lock in wedding makeup. I love All Nighter Waterproof Makeup Setting Spray from Urban Decay or Make It Last Matte Charcoal Setting Spray from Milani.
- If you’re in a dry climate, focus on extra hydration to avoid patchy makeup.
- In humid or wet conditions, avoid heavy powders and opt for cream-based products that blend seamlessly.
How Wedding Hair & Makeup Impact Photography
Your hair and makeup choices don’t just affect how you look in person—they shape the overall feel of your wedding photos. Makeup for photography is different from everyday makeup because natural light and cameras tend to wash out subtle colors. I recommend applying a bit more than you’re used to—especially with foundation, blush, and eye makeup—to ensure your features stand out on camera. That said, when in doubt, wear what feels comfortable. If you don’t feel like yourself, it will show in your photos.
False lashes can be stunning, adding definition to your eyes, but they need to be applied with precision. If they shift or start to lift at the edges, it can be distracting in photos—so if you’re not confident in applying them, consider skipping them or opting for individual lashes for a softer, more natural look.
When it comes to hair, movement is everything. Flowing styles that catch the wind add emotion and a free-spirited, natural vibe that looks incredible in outdoor settings. More structured styles, like sleek buns or polished waves, create a timeless, elegant feel—but keep in mind that very stiff styles may look less organic in adventurous locations. Whatever you choose, aim for a style that feels effortless and stays put, so you can focus on the moment instead of fussing with your hair.
Trust Yourself
Your elopement is about celebrating love, connection, and the adventure you’re about to embark on. Doing your own wedding hair and makeup can be a meaningful part of that journey—a quiet, reflective moment before stepping into a day filled with joy. Embrace the process, trust yourself, and remember that the most important thing is how you feel. When you feel confident, that radiates in every photo, every moment, and every memory you create.


Hi I’m Andrea.
Photographer, elopement planner, nature-dweller, storyteller. I work with people who care more about presence than perfection. This space is where I share what I’ve learned from over a decade of guiding couples through wild places, emotional days, and big choices. It’s not just logistics- it’s about tuning in, slowing down, and making space for something real.
If you’re looking for more info:
→ More About What I Do + The Experience
→ Browse the Resource Library
If you’re ready to talk about your day…